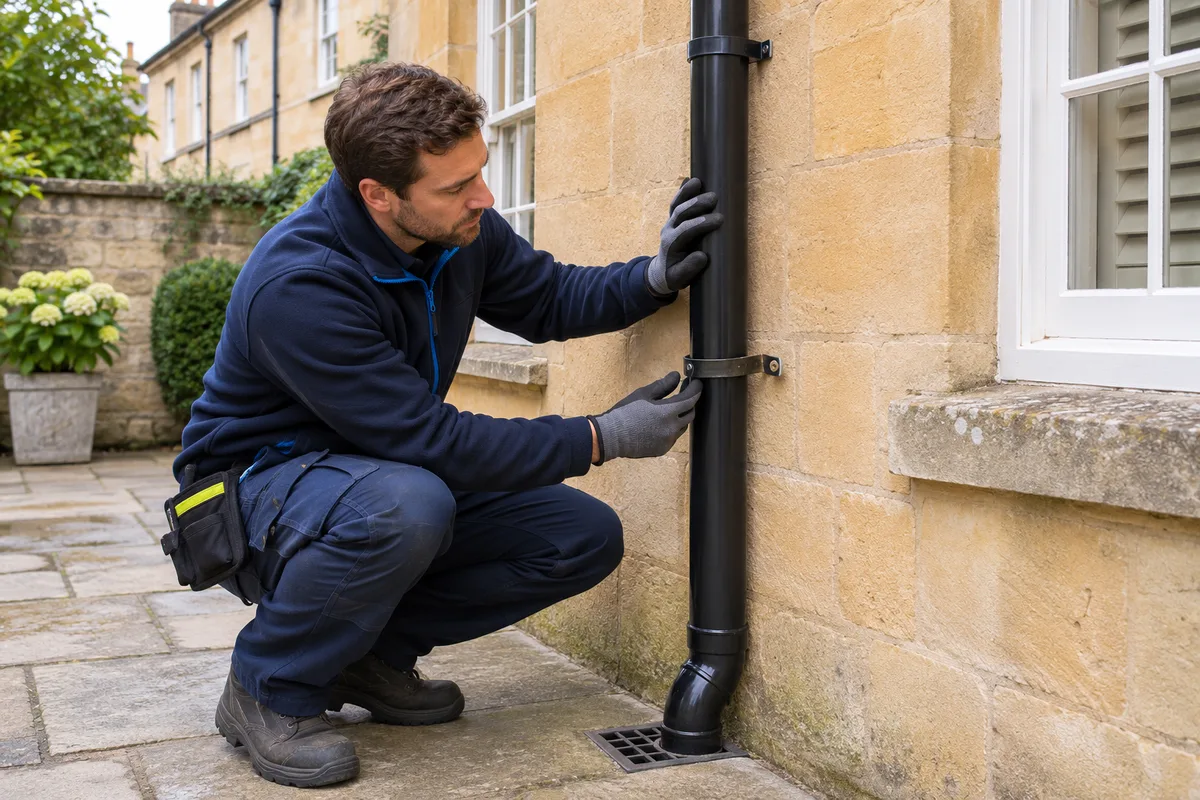
 01 · CHECK MOVEMENT FROM SAFE GROUND LEVEL FIRSTA loose clip is only one possibility. Follow the downpipe from the upper offset to the shoe and gully before deciding what needs repair.AI-generated illustration · not a customer property or job
A rainwater downpipe should stay aligned with the gutter outlet and carry water into its final drain or gully without pulling at the joints. If the pipe rattles in wind, stands away from the wall or moves when lightly touched at ground level, the fault may be a loose clip—but the clip is not always the whole problem.
The fixing can have pulled from the wall, a socket may have separated, the pipe may be cracked, or movement higher up may be loading the lower supports. A useful inspection starts at the top and follows the complete route down.
Warning signs you can see without climbing
Walk around the property from safe ground-level viewpoints. Look along the wall rather than only at the bottom of the pipe. Useful warning signs include:
- a clip with one side missing, bent or standing away from the wall;
- a downpipe that bows, twists or is no longer vertical;
- a visible gap where one pipe length enters a socket;
- an offset bend or branch that appears unsupported;
- scraping, knocking or rattling during wind;
- water escaping from a joint or running down the rear of the pipe;
- dark staining, algae or washed-out mortar behind the pipe; and
- a shoe that no longer points into the gully.
Historic England’s maintenance checklist specifically recommends checking the rear of pipes for cracks and corrosion, confirming that they are securely fixed to the wall and looking for staining or damaged mortar behind them.
Loose clip, loose socket or failed wall fixing?
These faults can look similar from a distance, but the repair is different:
- Loose clip: the clip may be cracked, distorted or no longer closing around the pipe correctly.
- Failed fixing: the clip may be sound but its screw or plug has loosened in the wall or mortar joint.
- Separated socket: one pipe length has moved partly out of a connector, creating a gap or leak.
- Damaged pipe: a split, corroded section or impact damage means the pipe itself may need replacement.
- Movement above: a loose swan neck, branch or upper joint can transfer load to clips lower down.
Do not assume the lowest loose clip caused all the movement. Our guide to swan-neck and offset downpipes explains why the bends near the roofline also need to be included.
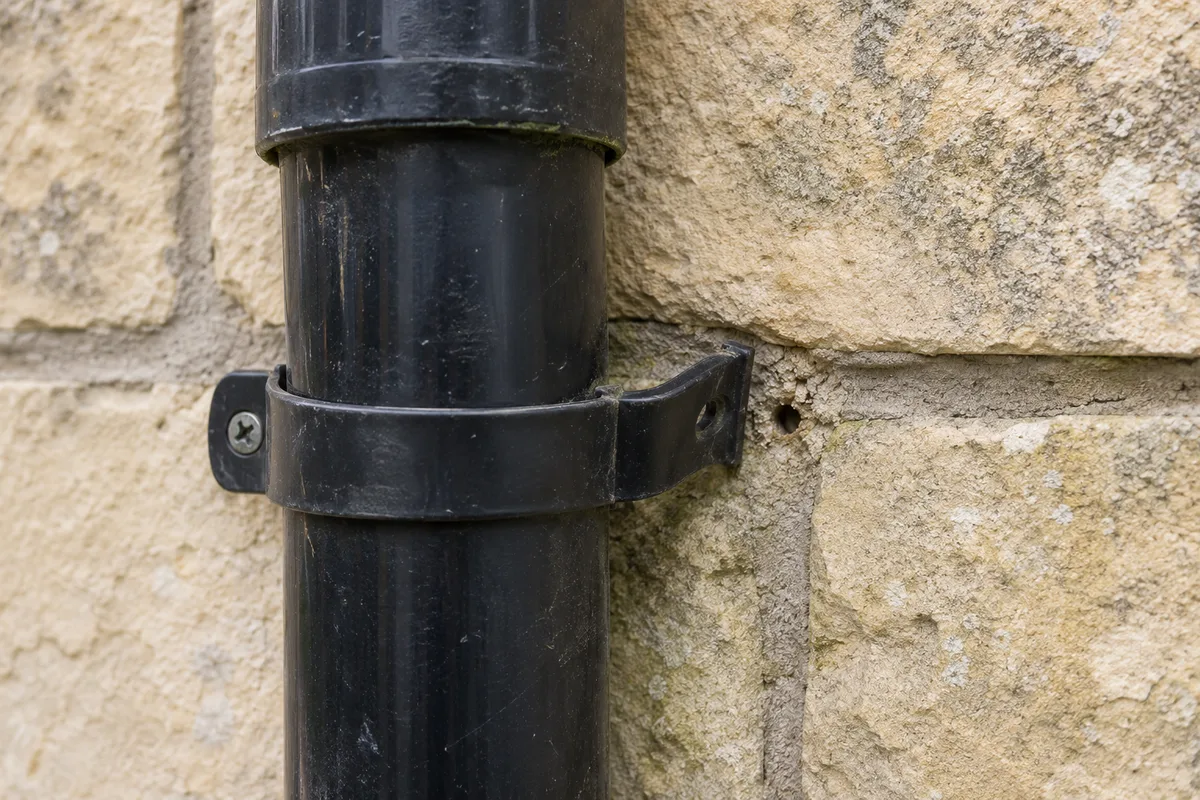 02 · IDENTIFY WHAT HAS ACTUALLY FAILEDReplacing a clip will not solve a fixing hole that has failed in weak masonry, nor will tightening a screw repair a split socket or pipe.AI-generated illustration · not customer work
Why adding another screw may not be enough
A lasting repair needs a sound fixing point and the correct component for the pipe system. Reusing a damaged hole, overtightening a plastic clip or fastening into loose surface material can leave the pipe unsupported again. On stone or older buildings, the wall fabric and mortar also need to be treated carefully.
The repair should establish:
- whether the existing clip is serviceable;
- whether the wall or mortar can hold a suitable fixing;
- whether the pipe is correctly aligned through each socket;
- whether the upper offset, branches and shoe have their own support; and
- whether the pipe can accommodate normal movement without being crushed or forced.
Manufacturer details vary by system. FloPlast’s PVC-U installation guidance, for example, says clips should support the pipe below offsets and at maximum intervals of 1.8 metres, with support at shoes, branches and bends where necessary. It also specifies fixing details and an expansion allowance at socket joints. Those dimensions are useful for that system, but an existing installation should be checked against its own material and manufacturer rather than repaired to a guessed universal spacing.
Follow the pipe all the way to the outlet
A secure upper pipe can still discharge badly at ground level. Check that the lower shoe remains aligned with an open gully or that the direct drain connection is intact. If the pipe has moved sideways, water may splash onto paving or the base of the wall even when every clip appears tight.
Our guide to downpipe shoes, gullies and drain connections explains the common arrangements. If water backs up instead of draining away, see how to distinguish a blocked downpipe from a blocked gully.
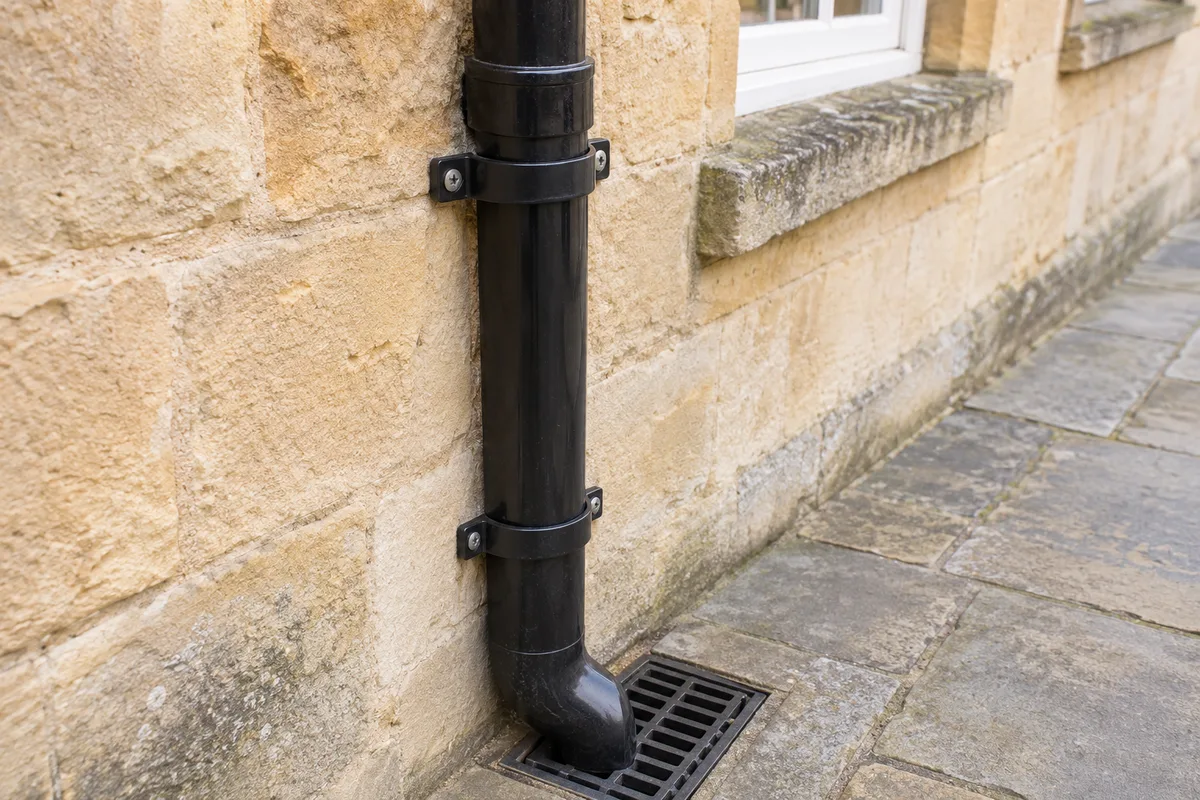 03 · CHECK SUPPORT, ALIGNMENT AND DISCHARGE TOGETHERThe finished pipe should be secure and aligned, with sound sockets and a shoe or drain connection that sends water to the intended outlet.AI-generated illustration · not customer work
What a proper repair check should record
Before work, take a full-height photograph of the downpipe and closer views of each loose clip, separated joint or damaged area. After repair, record the same locations and note any section that could not be reached or tested.
A practical completion check includes:
- the pipe is straight and no longer moving against the wall;
- clips and their wall fixings are secure without distorting the pipe;
- socket joints are engaged correctly and not under visible strain;
- offsets, branches and the lower shoe are supported;
- there are no new cracks or leaks around the repaired area; and
- water reaches the gully or final connection without splashing back at the wall.
For a simple way to organise the evidence, use our guide to useful before-and-after gutter photographs.
Cleaning and repairs are separate parts of the job
Clearing a blockage can reduce weight and stop water escaping, but it does not restore a failed wall fixing or broken clip. Equally, re-fixing the pipe does not clear debris inside it. Where both problems are present, the scope should list clearing, dismantling if needed, replacement parts and wall repairs separately.
Traditional cast-iron pipes need material-specific assessment because corrosion, cracked sockets and heavy sections change the repair method. See our guide to cast-iron rainwater goods on older homes.
Do not climb to test an upper clip
The Health and Safety Executive advises doing as much work as possible from the ground and using suitable access equipment where work at height cannot be avoided. It also warns against resting ladders on weak upper surfaces such as plastic gutters.
Do not pull a high-level pipe from an upper window or climb a ladder simply to see whether it moves. If the loose area is above ordinary ground-level reach, use photographs from below and arrange a competent inspection with appropriate access.
The practical rule
Trace the downpipe from the gutter outlet to the ground connection. A sound repair supports the whole route, fixes the underlying wall or component failure and leaves the shoe aligned with the drain—not just the one clip that first drew attention.
Sources and further guidance
- Historic England: maintenance checklist
- Historic England: inspection, maintenance and repair of rainwater systems
- FloPlast: PVC-U rainwater installation guidance
- FloPlast: rainwater FAQs
- Health and Safety Executive: working at height safely
Share this guide
Know someone with a loose or rattling downpipe? Share this guide so the clips, sockets, wall fixings and final drain route are all checked.
Share on FacebookShare on WhatsApp