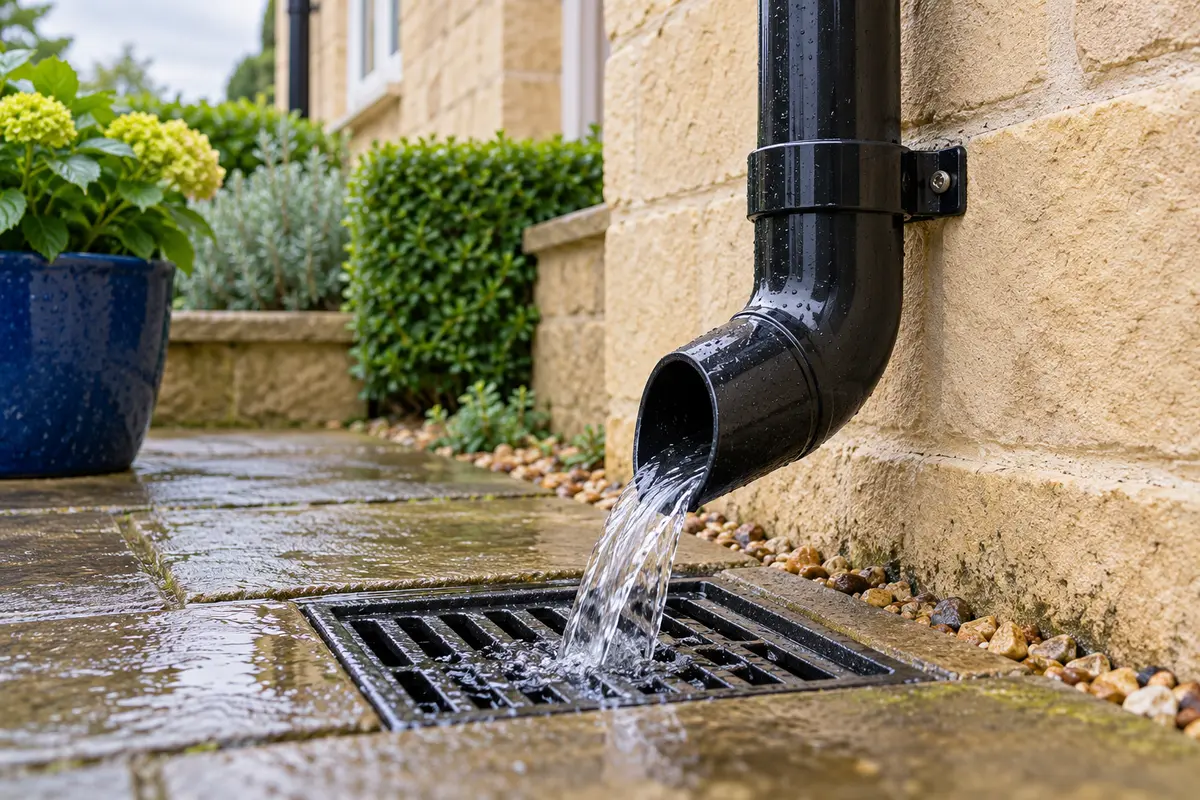
 01 · THE WATER ROUTE CONTINUES AT GROUND LEVELThe shoe and gully are the final visible link between the roof drainage and the route below ground.AI-generated illustration · not a customer property or job
A downpipe that is clear from top to bottom can still leave rainwater against the building if its final discharge point misses the gully, splashes the wall, backs up or connects to a blocked route.
That is why a useful rainwater check follows the complete path: gutter, outlet, bends, downpipe, shoe or adaptor, gully and the visible signs at ground level. The right arrangement depends on the property and its drainage design, but the water should have a deliberate route away from the building.
Four common ways a downpipe can finish
Approved Document H says rainwater pipes should normally discharge into a drain or gully. It also recognises discharge to another gutter or a drained surface. In practice, the visible endpoint will usually be one of these arrangements:
- A shoe over an open gully. The curved fitting aims the flow into a hopper or grate that can be inspected from above.
- A connection to a back-inlet gully. A bend and adaptor lead the downpipe into the side or rear inlet while the gully remains accessible through its cover.
- A direct connection to a surface-water drain. A suitable adaptor or reducer makes the change from the rainwater pipe to the underground drainage system.
- A shoe onto a lower roof or properly drained surface. The shoe must direct water away from the building and the receiving surface must be able to carry it safely.
1. Shoe into an open gully
This is easy to understand and easy to observe. The shoe should be secured, aimed into the gully and close enough to control the flow without obstructing access. The gully opening or grate needs to remain clear enough to accept water.
Look for a shoe that has twisted away, a loose clip, splash marks on the wall, washed-out pointing or a stream that strikes the edge of the gully. An open gully also gives useful evidence: if water enters but then rises or drains slowly, the restriction may be below the downpipe.
2. Back-inlet gully
A back-inlet gully accepts the rainwater pipe through a purpose-made side or rear connection. This can reduce open splash and keep the visible arrangement tidy, but access still matters because silt and debris can collect in the gully.
The bend, adaptor and gully should be compatible and supported. Improvised joints, open gaps or external sealant are not substitutes for a fitting intended for the pipe sizes involved.
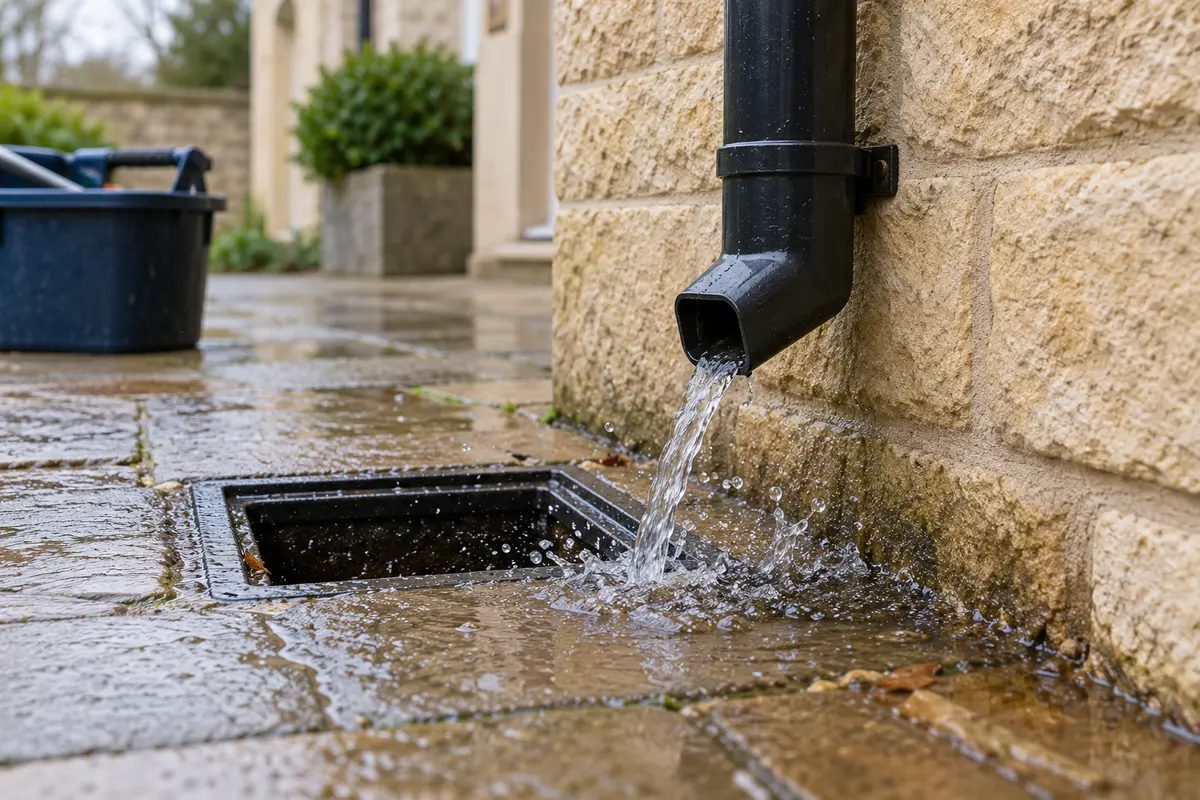 02 · A SHOE THAT MISSES THE GULLY MOVES THE PROBLEMClearing the pipe will not protect the wall if the final fitting sends the water onto the paving.AI-generated illustration · not a customer property or job
3. Direct connection to a drain
A smaller rainwater pipe may connect to underground drainage through an appropriate reducer or adaptor. From the surface, however, it is not always possible to confirm where a buried pipe runs or whether it is a surface-water system. A quick hose test can show that water moves, but it cannot prove the identity or full condition of the underground route.
If the connection is damaged, buried, backing up or of uncertain purpose, further drainage investigation may be needed. Do not reroute a pipe into a convenient-looking drain without establishing what that drain serves.
4. Discharge onto a lower roof or drained surface
Where a shoe discharges onto a lower roof or paved area, official guidance says it should divert water away from the building. When more than 25 square metres of effective roof area is carried by one pipe onto a lower roof, Approved Document H says a distributor pipe should be fitted to the shoe to spread the flow.
Concentrating a large stream in one spot can overwhelm a lower gutter, erode a surface or create persistent splash. The receiving roof or surface therefore needs to be considered as part of the same rainwater route.
Warning signs at the bottom of a downpipe
- dark splash marks, algae or green growth at the base of the wall;
- water pooling between the shoe and the gully;
- loose clips, a twisted shoe or a disconnected adaptor;
- gurgling, slow drainage or water rising in the gully;
- silt washed across paving or eroded mortar joints; and
- overflow that continues after the gutter and downpipe have been cleared.
These signs do not all have the same cause. A blocked downpipe, blocked gully, poor alignment and a damaged underground connection require different work. Our guide to a blocked downpipe or blocked gully explains how the behaviour of the water helps separate them.
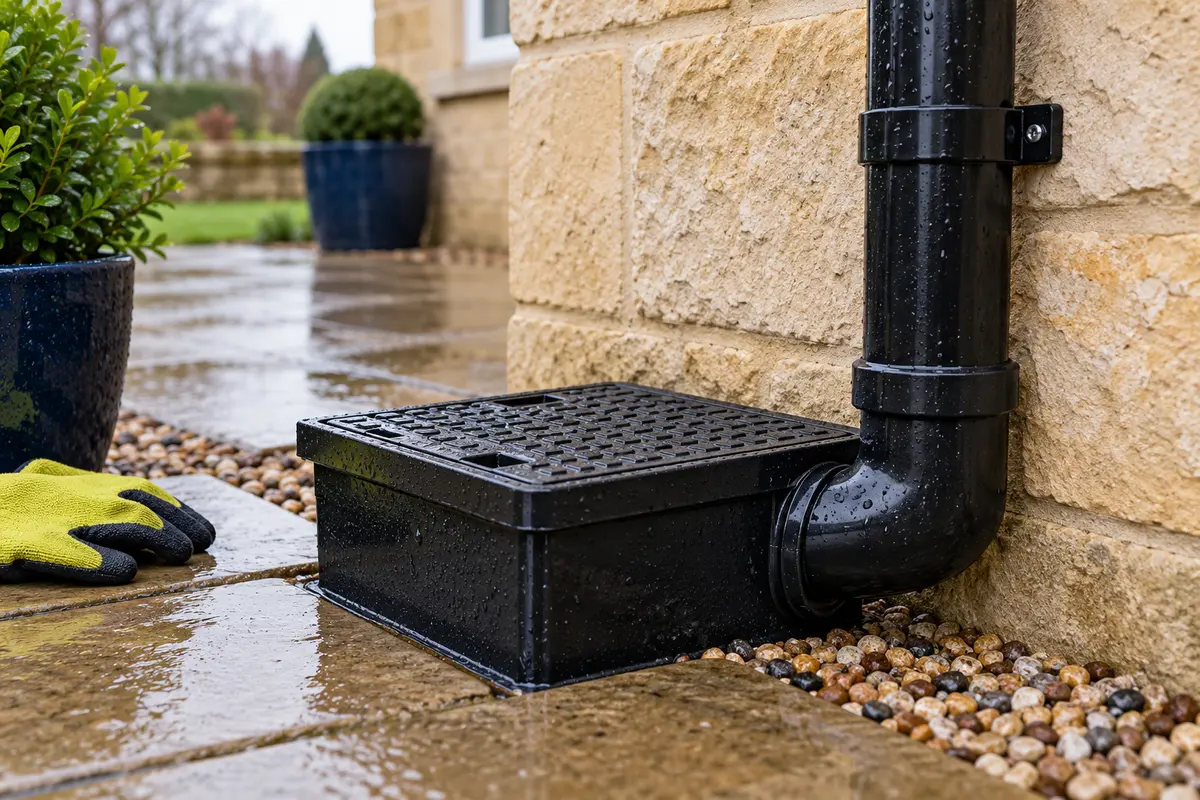 03 · THE CONNECTION MUST SUIT THE DRAINAGE ROUTEA purpose-made bend and adaptor give the water a controlled route while the gully remains accessible for maintenance.AI-generated illustration · not a customer property or job
What a careful check includes
Start with safe observations from ground level. Check whether the shoe is secure, where the stream lands, whether the gully is visibly clear and whether water rises when the system is tested. A controlled test should be stopped if water backs up or begins reaching the wall.
A useful inspection records the endpoint as well as the roofline: the full downpipe, the last clip, the shoe or adaptor, the gully cover and any staining or pooling. That evidence helps distinguish gutter or downpipe work from a separate drainage repair.
Also inspect the upper route. Repeated restrictions can occur at offset bends, so see our guide to swan-neck downpipe blockages. If a water butt is connected, its diverter and overflow form another branch of the same route; our water-butt maintenance guide covers those checks.
For homeowners, landlords and business premises
Keep a simple record of where each downpipe finishes, which gullies are accessible and whether any pipe crosses a lower roof. For managed or commercial properties, include ground-level discharge points in seasonal inspections rather than recording only the visible gutter line.
After heavy rain, safe ground-level photographs of the pipe, the gully and the surrounding paving are especially useful. Never lean a ladder against plastic guttering; the Health and Safety Executive advises avoiding work at height where practical and using suitable equipment when it cannot be avoided.
What to photograph for a quote
- The full downpipe from ground level, including any offset bends.
- A close view of the shoe, adaptor or final connection.
- The gully or drain cover and the paving around it.
- Any splash marks, pooling, loose clips or water backing up.
- A wider view showing access and nearby roofs or extensions.
Sources and further guidance
- GOV.UK: Approved Document H — drainage and waste disposal
- Approved Document H, section H3: rainwater drainage (PDF)
- Brett Martin: rainwater system FAQs
- FloPlast: Underground Drainage Systems technical guide (2026 PDF)
- Health and Safety Executive: working at height
Share this guide
Know someone whose downpipe splashes the wall or misses the gully? Share this guide to shoes, gullies and drain connections.
Share on FacebookShare on WhatsApp