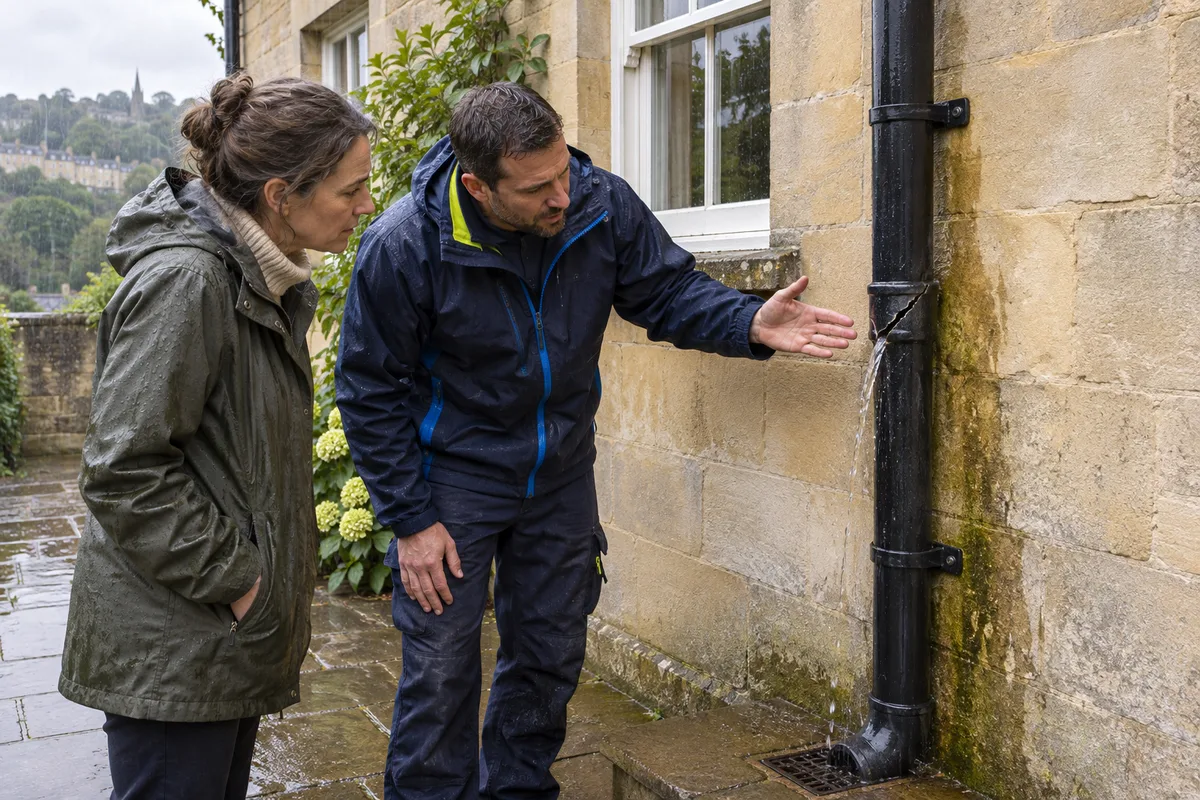
 01 · WATCH THE DEFECT IN RAINRecord exactly where water escapes before deciding whether the pipe, socket, fixing or drainage route needs attention.AI-generated illustration · not a customer property or job
A downpipe is meant to carry roof water safely from the gutter to a gully, drain, water butt or lower roof. A crack halfway down the run defeats that route: water can repeatedly soak the wall, splash the plinth or pool beside the building.
Not every drip from a downpipe is a cracked pipe, though. Sections can separate at sockets, clips can loosen, an offset bend can leak, or a blockage can make water appear at the nearest joint. The best repair starts by identifying the precise failure and checking the whole route.
Start with the location of the leak
Observe the pipe from ground level during ordinary steady rain. Note whether the water emerges through the wall of the pipe, from the edge of a socket, around an offset bend, or from behind the pipe where the defect is difficult to see.
Take one photograph showing the defect in relation to the building, then a closer image. Record the elevation, height, nearby window or door, downpipe material and where the pipe ends. For a landlord or business premises, add the date and rain conditions so a later repair can be checked against the same location.
Historic England’s maintenance checklist recommends checking the rear side of rainwater pipes for cracks and corrosion and looking for staining, algae or washed-out mortar behind them. A small mirror can help at reachable ground level; high sections need suitable access rather than leaning from a window.
Crack, socket or surface water?
These clues help separate common faults:
- A visible split in the pipe wall: water forms along a line in the middle of one section, often with staining directly below it.
- A leaking socket: droplets appear around the circular or square joint between two lengths. The pipe may be displaced, poorly seated or unsupported.
- A failed bend or offset: water escapes near the top where fittings bring the pipe back to the wall from the outlet.
- A loose fixing: the pipe moves, pulls away from the wall or places strain on the next socket.
- Run-off from somewhere else: water travels down the outside of an intact pipe from a leaking gutter outlet, hopper or roof junction above.
Dry the accessible surface after rain and inspect it again. Old wall staining may remain after a previous repair, so fresh water during rainfall is stronger evidence than the colour of the masonry alone.
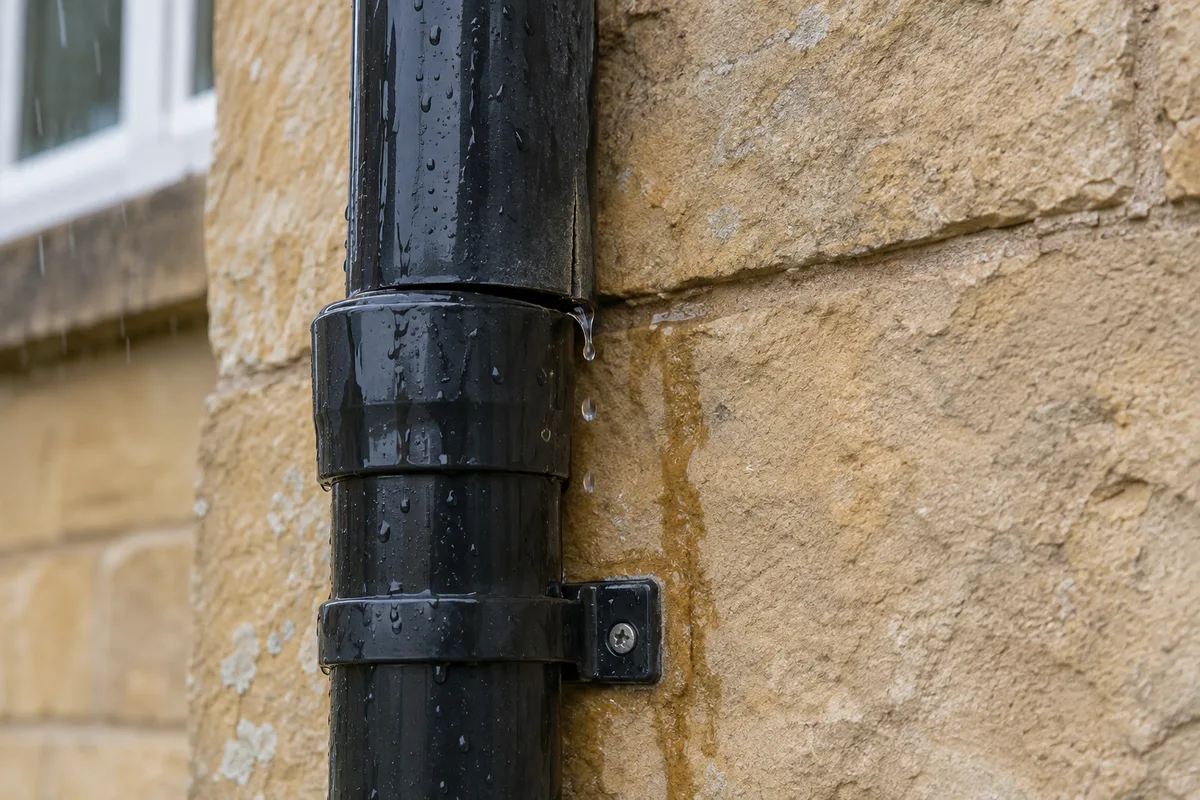 02 · CHECK SOCKETS AND SUPPORTA drip at a joint may come from movement or poor support rather than a crack through the pipe wall.AI-generated illustration · not a customer property or job
Check for a blockage before sealing anything
A restriction can change where water escapes. The downpipe may be blocked at an offset, a socket, its lower bend or the gully beneath it. Water backing up inside the pipe can reveal a weak joint or existing split that stays dry in lighter rain.
Check whether the gutter outlet is clear, whether the pipe is flowing at its lower end and whether the gully is accepting the discharge. If the downpipe enters the ground directly, the final connection is concealed; do not assume it is clear because the upper pipe looks empty after the rain stops.
Clearing and testing the route before repair avoids covering a symptom while leaving the restriction in place. It also helps distinguish a downpipe job from a separate below-ground drainage problem.
How uPVC downpipes are meant to move
Plastic rainwater systems are assembled from pipe lengths, sockets, bends, shoes and clips. The manufacturer’s installation instructions matter because joints and fixings allow the run to remain supported while accommodating movement.
FloPlast’s current step-by-step guide, for example, says additional uPVC pipe lengths should be joined with a socket and a clip over the joint. Its guide also specifies a 10 mm gap at the bottom of the pipe socket for expansion and gives a maximum clip spacing of 1.8 m for that system. Those figures should not be copied blindly to another make or profile; use the instructions for the actual components being repaired.
A gap inside a correctly assembled socket is therefore not automatically a defect. The practical questions are whether the pipe is seated as intended, whether the fitting and clips match the system, and whether water stays inside the run during a test.
When one section may be enough
A local replacement is often proportionate when the damage is confined to one accessible pipe length or fitting, the adjoining material is sound, the route is correctly supported and compatible parts can be identified.
The repair should replace the damaged component rather than simply hide it. The new length needs the correct diameter or profile, suitable sockets or adaptors, proper support and a clear discharge at the bottom. After assembly, test the gutter, outlet, full pipe and gully together.
Matching matters. Round and square pipes are obviously different, but products that look similar may still use different socket dimensions or clip positions. Photograph the existing profile, fittings and any maker’s marks before ordering parts.
When more of the run should be replaced
A complete or larger sectional replacement may be more sensible when:
- several lengths are split, distorted or poorly matched;
- multiple sockets have separated because the run is badly supported;
- impact damage has affected the pipe and its wall fixings;
- cast iron has widespread corrosion, perforation or failed joints;
- the route needs alteration to reach a working gully or drain; or
- the existing system cannot be repaired with compatible components.
Replacement does not automatically mean changing the gutter above. Keep the scope tied to the evidence. Equally, replacing only the most visible crack will not solve a run that has several failing sections or an unresolved blockage.
uPVC, aluminium and cast iron need different decisions
Do not assume the same repair method suits every material. uPVC components are normally joined with purpose-made sockets and clips. Metal systems can use different jointing, coating and fixing arrangements, and traditional cast-iron rainwater goods may be part of the character of an older or listed building.
On cast iron, inspect the rear of the pipe, collars, ears and fixings as well as the front face. Rust streaks, lifting paint and local staining can point towards a concealed defect. Sound historic sections may be worth retaining, while widespread corrosion or unsafe loose pieces need prompt specialist assessment.
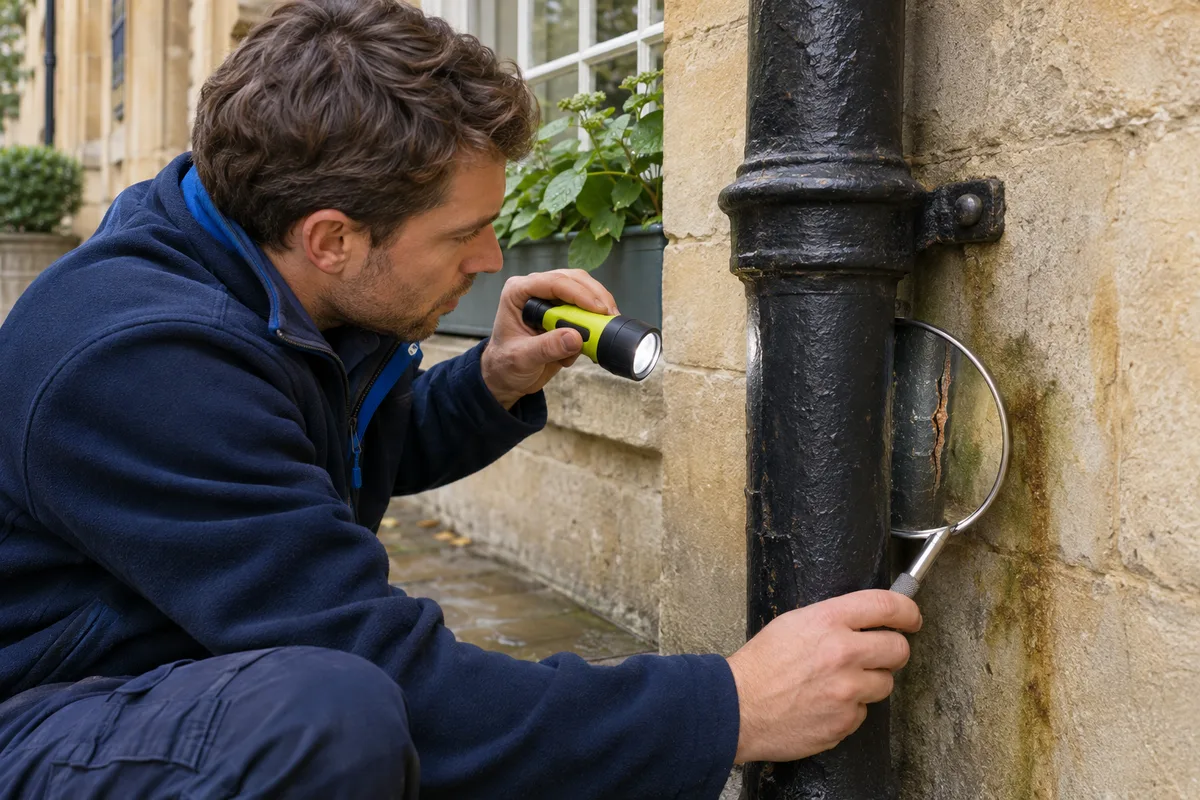 03 · INSPECT THE HIDDEN SIDECracks, corrosion and wall staining can develop behind a metal downpipe where a front-only view will miss them.AI-generated illustration · not a customer property or job
Why tape and surface sealant are not a full diagnosis
A temporary covering may reduce a drip long enough to protect an area while a proper repair is arranged, but it does not confirm why the failure occurred. Adhesive on a wet or dirty pipe may not hold, and a surface patch cannot correct a displaced socket, failed clip, incompatible fitting or blockage.
Before treating any patch as permanent, ask whether the damaged piece can be replaced cleanly and whether the full route has been flow-tested. Avoid drilling random holes or adding screws through a plastic pipe unless the system manufacturer specifically requires that fixing; an improvised hole can create another leak or restrict movement.
Check the wall and ground after repair
Once the pipe is watertight, check where the leaked water went. Look at pointing, render, paint, timber, the wall base and paving. Persistent saturation, loose masonry or internal damp may need separate building assessment even after the rainwater defect is fixed.
Then observe the repaired route in normal rain. Confirm that water enters at the gutter outlet, stays inside every pipe section and fitting, reaches the final discharge, and does not back up at the gully. Keep the after photograph with the original defect record.
Inspect safely
Ground-level photographs and rain observations are useful for lower sections. High offsets, hopper heads and pipes above conservatories or extensions need planned access by competent people using suitable equipment. Do not pull on a loose cast-iron section or rest a ladder against the pipe or gutter.
If part of the run cannot be seen safely, record the access limitation. A clear lower pipe does not prove that the swan neck or outlet above is sound.
Related guides cover loose clips and wall fixings, blockages in swan-neck and offset pipes, how to distinguish a blocked downpipe from a blocked gully, and where a downpipe should finish.
The practical rule
Find where the water escapes, clear and test the full route, identify the material and fittings, then replace only as much as the evidence justifies.
Sources and further guidance
- Historic England: maintenance checklist
- Historic England: inspection, maintenance and repair of rainwater systems
- FloPlast: rainwater step-by-step installation guide
- RICS: home maintenance tips
- Health and Safety Executive: working at height safely
Share this guide
Know someone with a leaking or cracked downpipe? Share this practical guide to finding the fault before replacing parts.
Share on FacebookShare on WhatsApp