
 01 · CONFIRM WHERE THE WATER STARTSA clean drip directly beneath the cap suggests a different fault from water spilling over the gutter edge or tracking from the roof above.AI-generated illustration · not a customer property or job
A stop end closes the open end of a gutter run. When water appears at that point, the fitting is an obvious suspect—but replacing or sealing it without checking the rest of the run can leave the real cause untouched.
Water may be escaping through the fitting, rising over the top because the outlet is restricted, or being pushed towards the end by poor alignment. The first job is to identify the path of the water.
First distinguish a leak from an overflow
Watch the area from a safe ground-level position during rain, or inspect the pattern after it has dried. Look for:
- a small drip from the underside of the cap: the stop-end seal, clip or gutter edge may need inspection;
- water spilling over the top: the gutter may be holding too much water because of debris, a restricted outlet or poor fall;
- water behind the gutter: check roof-edge alignment, the rear lip and the fascia rather than blaming the cap alone;
- a stain that starts higher up: water may be tracking from the roof covering, verge or another detail above; and
- movement in wind or warm weather: the end fitting, final bracket or gutter length may be under strain.
Our guide to overflowing gutters explains how the spill pattern helps separate a blockage from a leaking fitting.
Common reasons a stop end leaks
The exact construction varies by manufacturer and gutter profile, but typical causes include:
- dirt, grit or old residue preventing the sealing surface from sitting cleanly;
- a fitting that has not clipped fully into place;
- a damaged, twisted or hardened seal;
- a cracked stop end or distorted gutter edge;
- mixed components that look similar but are not designed to fit together;
- thermal movement pulling the gutter against or away from the fitting;
- poor support near the end of the run; and
- standing water caused by alignment or outlet problems.
Do not assume every black half-round component is interchangeable. Profile, size and manufacturer details matter, especially where the existing gutter has been repaired with mixed parts over time.
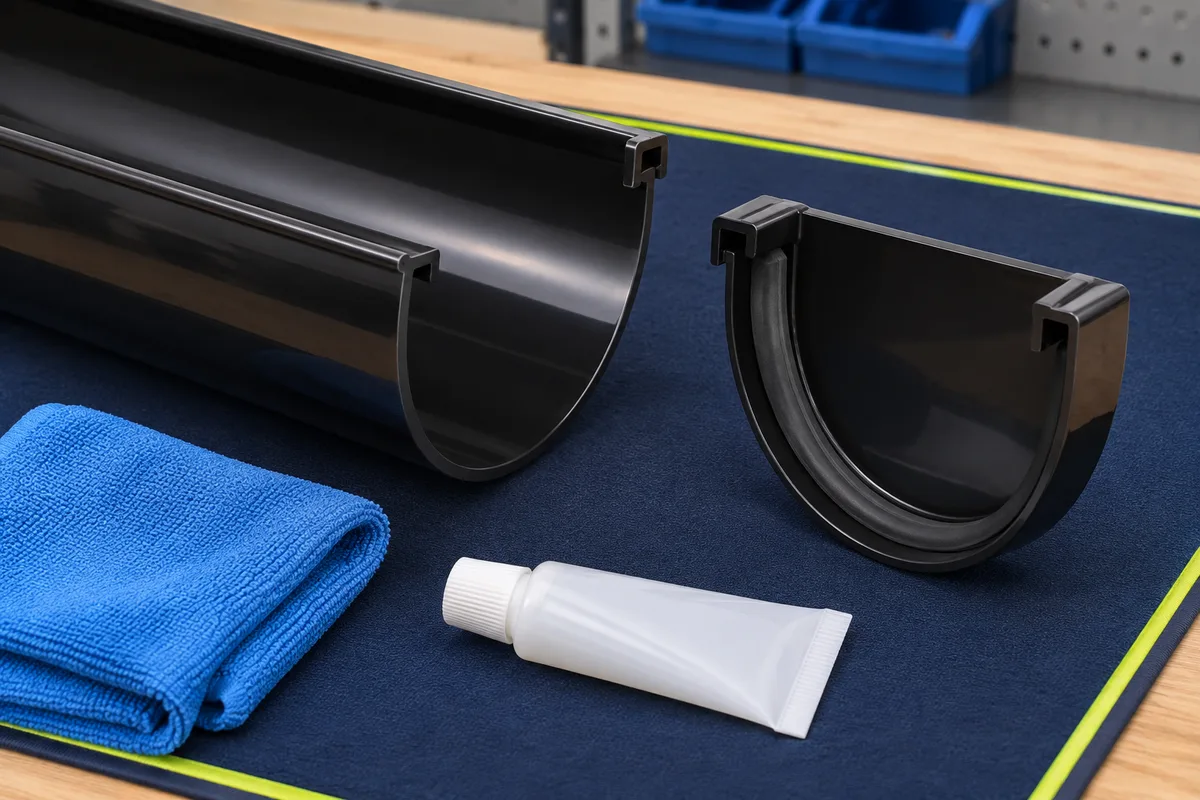 02 · CHECK THE FITTING, SEAL AND GUTTER EDGECleaning only helps when the matching parts are sound and correctly fitted. Cracks, distortion or the wrong profile need a component repair, not another smear of sealant.AI-generated illustration · not customer work
External and internal stop ends are not the same
Some systems use an external stop end that clips over the end of the gutter. Others use an internal fitting combined with a supported joint arrangement. The correct choice depends on the product system and the length and layout of the run.
Polypipe’s installation guidance, for example, says its external stop ends should only be used where the gutter length from the running outlet does not exceed 300 mm. For longer lengths it specifies a fixed union bracket and internal stop end so expansion and contraction can be controlled. That is a manufacturer-specific detail, not a universal measurement for every brand, but it shows why the fitting should be identified before replacement.
Thermal movement matters
uPVC guttering expands and contracts as temperatures change. FloPlast reports that normal daily movement can be around 10 mm over a four-metre length and allows for movement within its fittings. If a run is trapped, cut too long, inserted past its marks or unsupported, movement can load an end fitting or pull another joint out of position.
A repair should therefore check the stop end together with nearby unions, outlets and brackets. Treating the cap in isolation may hide the symptom while the run remains under strain. See our guide to leaking uPVC gutter joints for more on movement and alignment.
Lubricant is not the same as sealant
Where a system uses rubber seals, follow its installation instructions. FloPlast recommends silicone spray or lubricant to help its gutter seals during fitting and specifically warns that washing-up liquid can be detrimental to them.
That does not mean general-purpose silicone sealant should be spread around every leaking stop end. Sealant can make a later inspection harder and will not repair a cracked fitting, wrong component, failed support or standing-water problem. Clean and identify the parts first, then use the manufacturer’s stated method.
Check the last bracket and gutter alignment
The final section of gutter should remain properly supported without forcing the stop end out of shape. Look for a bracket that is loose, missing, twisted or fixed to an unsound fascia. Also check whether the gutter sits consistently with the rest of the run rather than rising or sagging near the end.
FloPlast’s published guidance gives a maximum general fascia-bracket spacing of one metre, while noting that different profiles and downpipe arrangements have other design considerations. Existing installations should be checked against their own system rather than repaired to a guessed universal spacing.
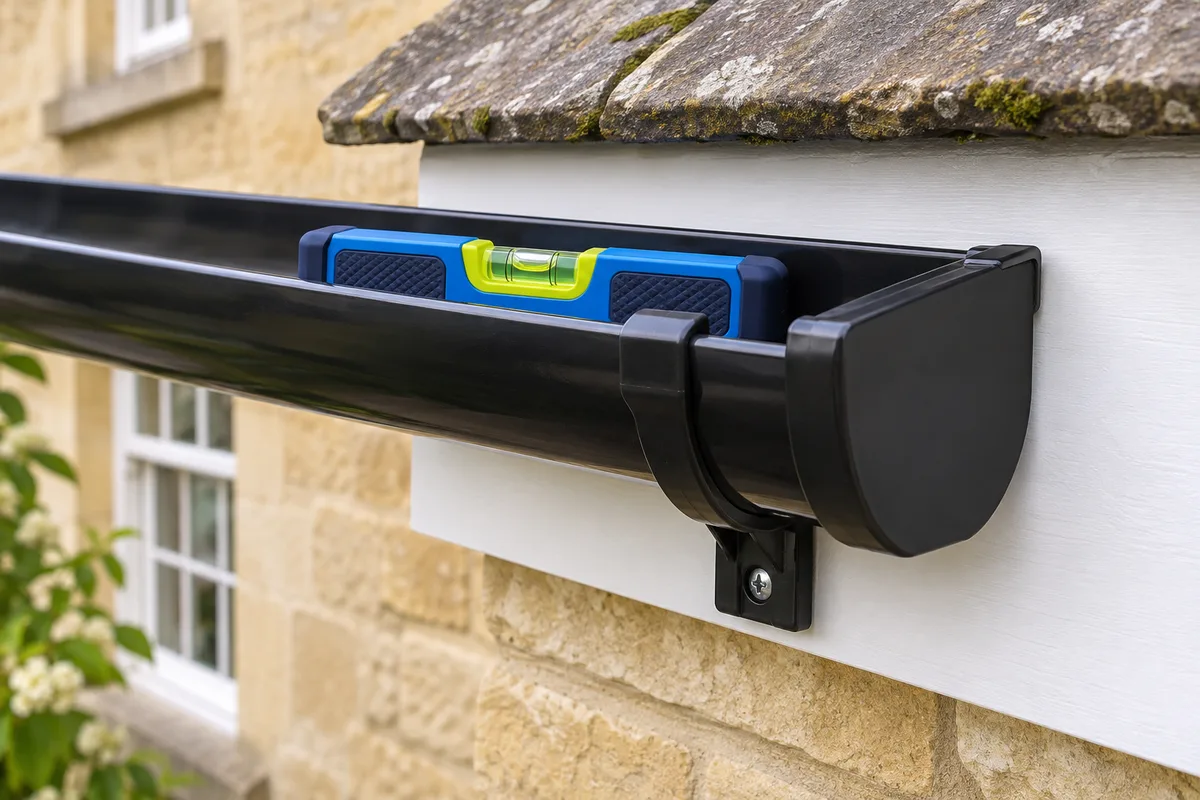 03 · CHECK SUPPORT AND ALIGNMENT TOGETHERA new stop end will not stay watertight if the gutter is twisted, poorly supported or holding water at the wrong end of the run.AI-generated illustration · not customer work
A sensible repair sequence
- Photograph the end of the gutter and record whether water drips through, over or behind it.
- Clear debris and confirm that the outlet and downpipe route are open.
- Identify the gutter profile, size and manufacturer where possible.
- Inspect the stop end, seal, gutter edge and final support for damage or distortion.
- Check the run for standing water, poor fall and signs of restricted movement.
- Refit or replace parts using the product system’s instructions and compatible lubricant where specified.
- Test the complete route from gutter to outlet and downpipe, then recheck after rain.
If a clean gutter still holds water at the closed end, the job may need bracket or alignment work rather than another replacement cap.
Do not climb just to press the cap back on
The Health and Safety Executive advises doing as much work as possible from the ground, selecting suitable access equipment where work at height cannot be avoided and never resting a ladder against a plastic gutter.
A stop end can look close enough to reach from a window or short ladder, but overreaching while applying pressure to a fitting is unsafe. Arrange competent access where the repair cannot be completed and checked from a safe position.
Record the result
Take a wider photograph showing the gutter end in relation to the outlet and roof edge, plus a close view of the stop end and final bracket. Repeat those views after the repair and note whether the run was water-tested.
Our guide to useful before-and-after gutter photographs explains what a clear maintenance record should include.
The practical rule
Follow the water before replacing the part. A lasting stop-end repair uses the correct fitting, leaves room for the system to move, supports the last section of gutter and confirms that water can reach the outlet without collecting at the closed end.
Sources and further guidance
- FloPlast: rainwater FAQs
- FloPlast: rainwater system and installation guidance
- Polypipe: above-ground technical installation guide
- Health and Safety Executive: working at height safely
Share this guide
Know someone with a drip at the capped end of their gutter? Share this guide so the water path, fitting, movement and support are all checked.
Share on FacebookShare on WhatsApp